Golden testing with Flutter
Golden tests, snapshot tests, or whatever you call them, can be a boost to your flutter app development.
What are golden tests?
The idea of golden tests is simple. It starts with 2 phases:
- Generating the sample image to compare.
- Comparing the rendered screen/widget with the sample image.
The simple idea prevents regressions in your UI code. For example, when you change a piece of code in a widget, the tests would fail if the change was visible on the screen. They're also great for TDD as you can create and validate a widget without running the app. But enough talking, let's see how we can achieve these things in Flutter.
Code example
Let's use the flutter's demo project with a counter.
First, add golden_toolkit package - it contains utility methods to make the golden testing easier.
Then let's create a simple golden test for our app
Let's walk through the code:
testGoldensis a test method similar totestWidgets, it takes a name parameter, which is our test name, and a test callback, which will do the testing for us.- Firstly we need to create a builder, a widget that we render. Since we're using the golden toolkit, it provides us with DeviceBuilder, a handy builder to simulate standard device sizes.
- We can add a test scenario, which will be the widget that we want to validate.
pumpDeviceBuilderpumps the device builder into the widget tester.screenMatchesGoldencompares the output of what we've rendered to the previous sample image. That's it. Now let's generate our sample file.

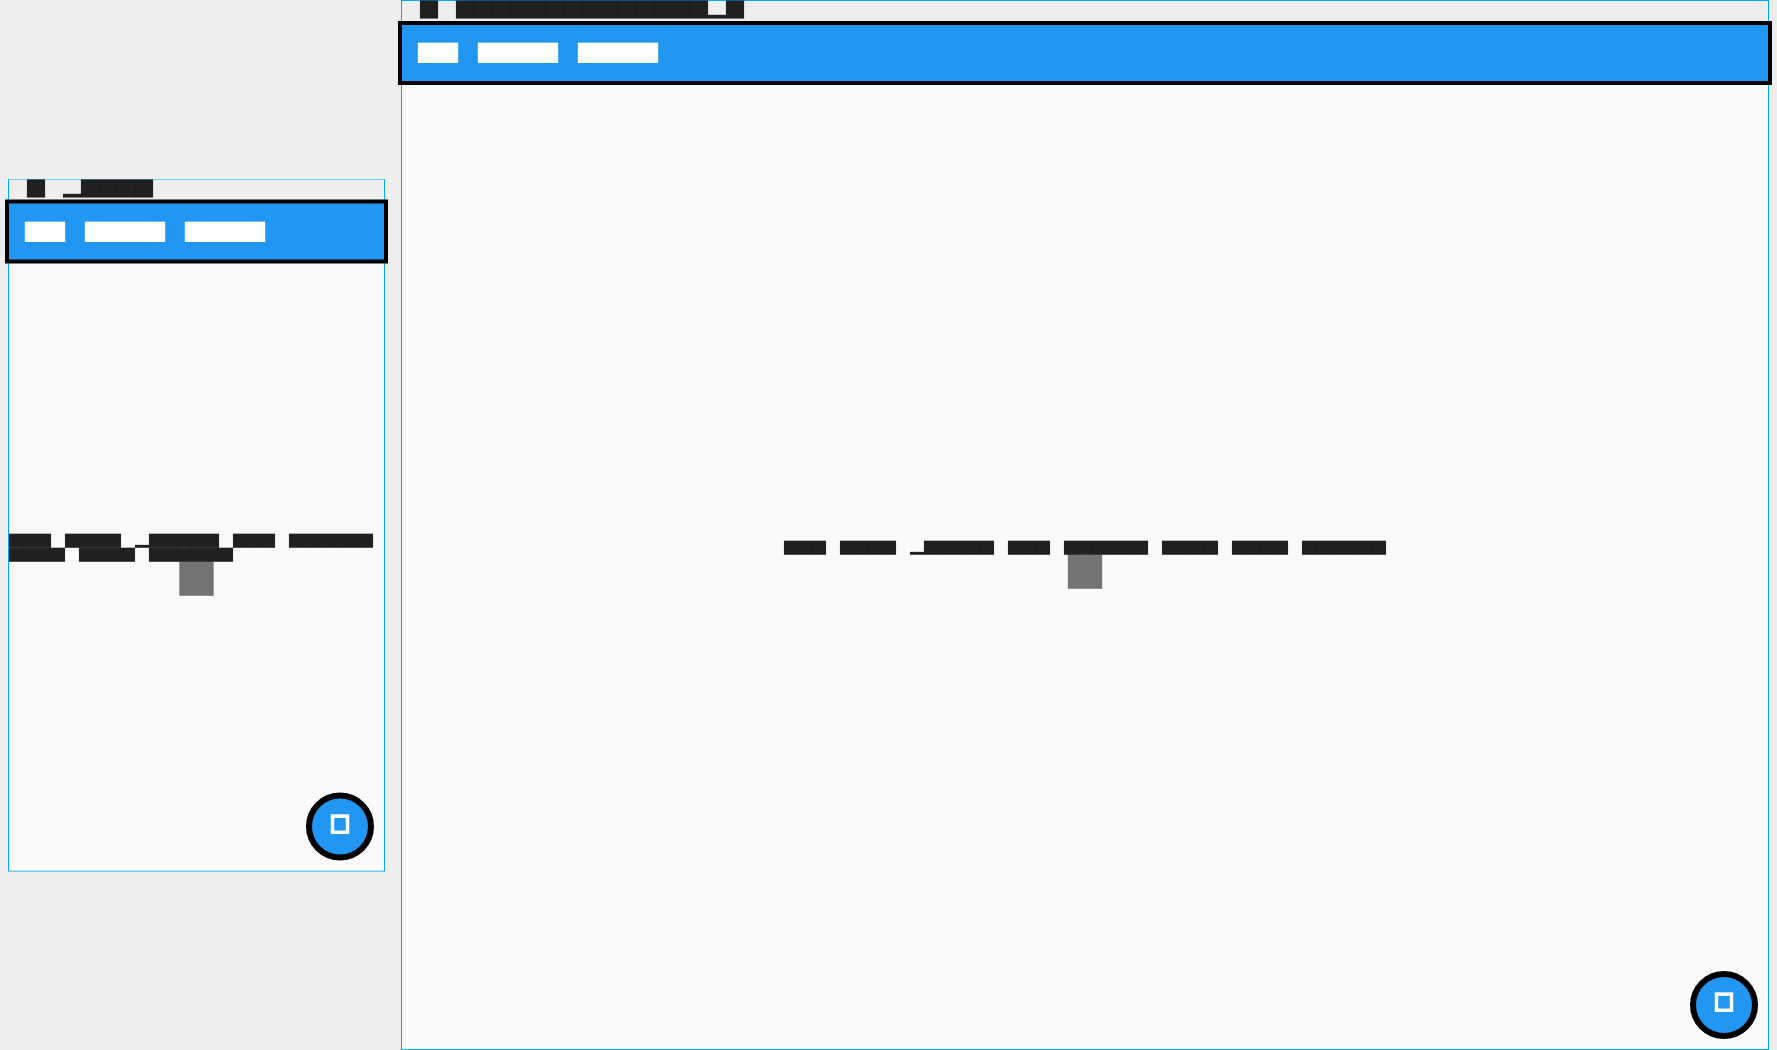
Well, that doesn't look too good. It's because, by default, flutter uses a font that renders just black boxes instead of actual letters. So, if we want to see a different font, we need to load it before running the tests. Thankfully, golden_toolkit has a method to load the default fonts, so we don't need to do it ourselves.
Also, let's load fonts for every test, not just this one. The recommended way is to create a flutter_test_config.dart file in your repository's test folder. Then copy the code:
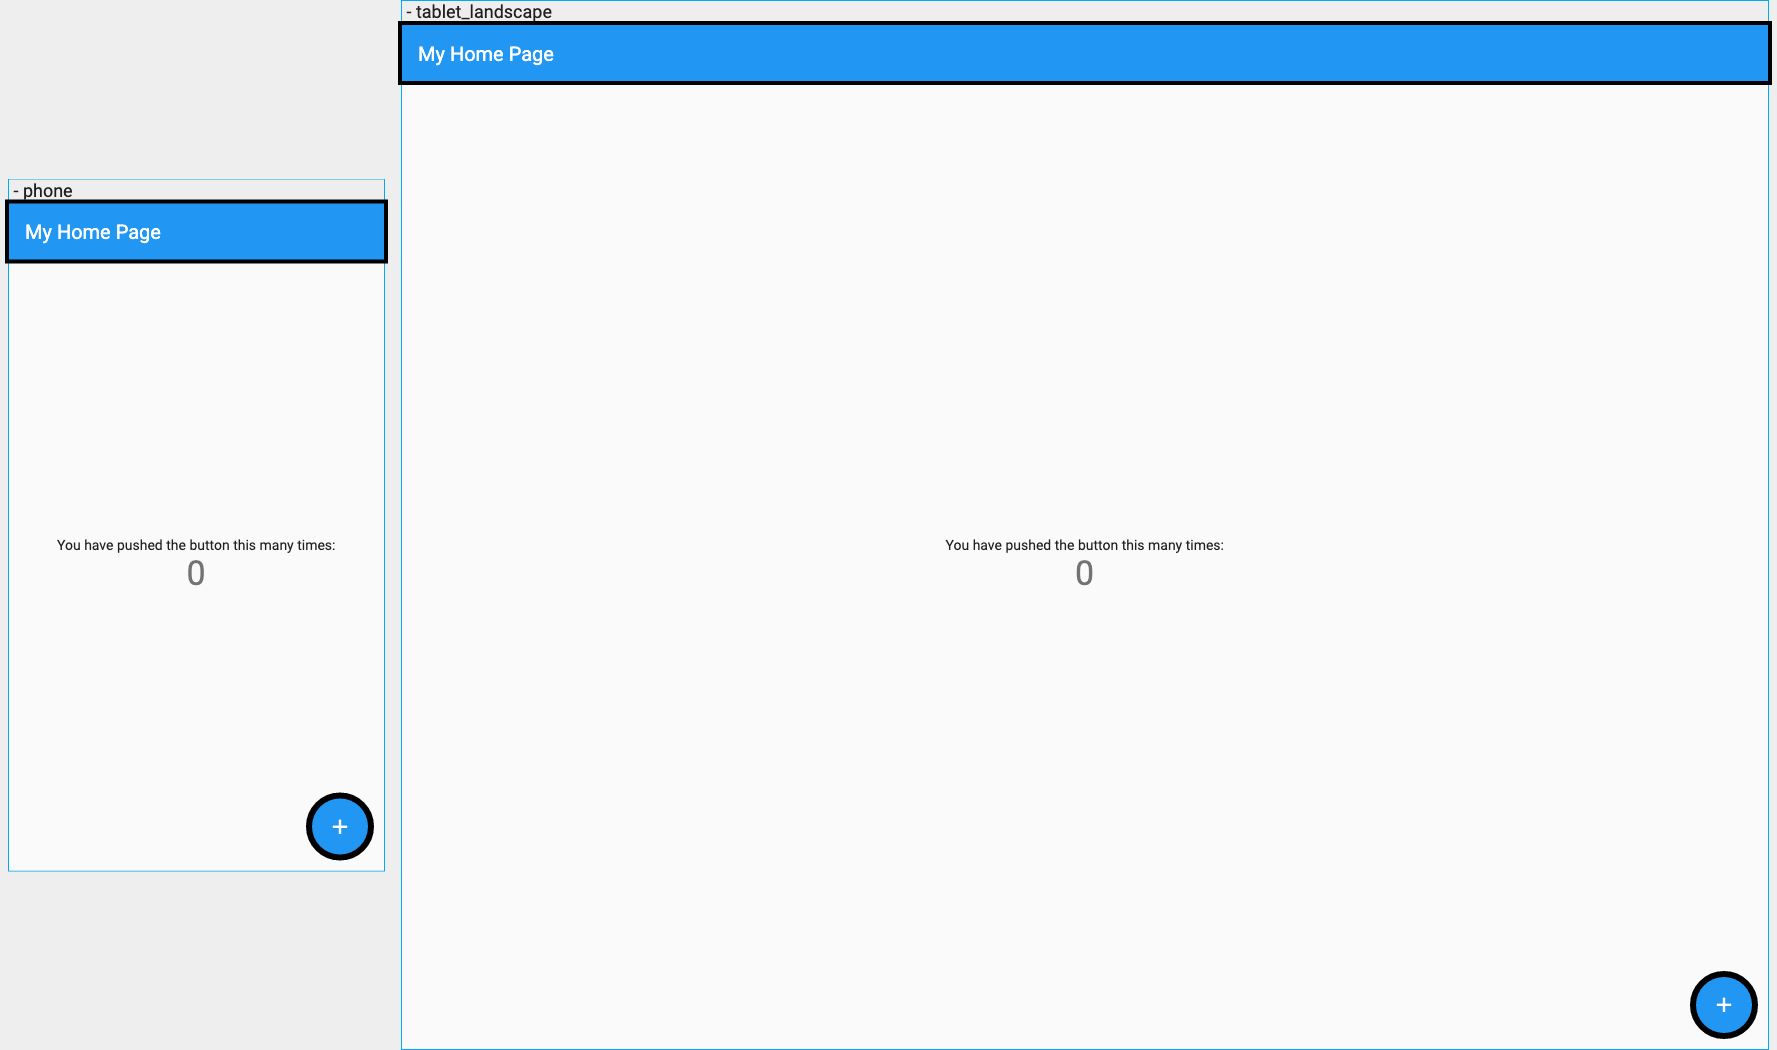
Ok, let's rerun the tests:

Better, right? Let's add one more scenario, where we press the button. Then, the content should adjust accordingly to our actions.
onCreate method provides us with the key for the given scenario to find the correct widget to be pressed just in this context. Then, the tester can tap it. There are all different things that you can do with the tester, like entering text, long-pressing, etc.
Other tips
Update goldens only on golden test files
Since flutter test --update-goldens goes through all of the tests in your test folder, you might want to limit the number of those to make this command go a little faster. Add dart_test.yaml to your project's root directory with a golden tag inside:
It marks all tests that use testGoldens method. So instead of going through all of the files, it takes into account only the ones with golden tags, like this:
Ignore the failures folder in your version control
Whenever a test fails, it produces a failures folder that highlights the differences in the images. You shouldn't check them into your version control.
Provide your own theme to the tests
pumpDeviceBuilder, by default, wraps the widget in materialAppWrapper - a utility method that wraps the app in some default MaterialApp. If you wish to add a custom theme, locales, or other material app properties, you can do that:
If that's not good enough for you, you can create a wrapper on your own.
Load your own fonts
If your project is using custom fonts, instead of using loadAppFonts method, you can load them yourself:
Shadows
You might have noticed that golden tests don't display the shadows. By default, they're disabled because of the inconsistencies of their implementation across versions, but you can enable them in GoldenToolkitConfiguration.
Summary
To sum up, golden tests can help you avoid UI regressions and be a great addition to flutter app development.
All code used: goldentestsexample
Golden toolkit: https://pub.dev/packages/golden_toolkit
