Building an Interactive Demo for Your Pydantic-AI Agent with Streamlit (Part: 3)

Building an Interactive Demo for Your Pydantic-AI Agent with Streamlit
Introduction
Welcome to the final part of our journey building a full-stack AI agent application! In the first article, we explored Pydantic-AI for creating structured AI agents, and in the second article, we built an API layer to expose our agent. Now, we'll complete the picture with a Streamlit frontend that brings our agent to life.
When I started exploring AI agents, I quickly realized that a great agent needs an equally great interface. Command-line demos are fine for testing, but a proper UI transforms an experiment into something you can actually show people. That's where Streamlit came in.
Why I Chose Streamlit
After experimenting with several frontend options, I settled on Streamlit for a few compelling reasons:
- Python-Only Development: As someone focused on AI development, I didn't want to switch contexts between Python backend and JavaScript frontend work.
- Rapid Prototyping: I needed to iterate quickly, and Streamlit let me build a functional UI in hours, not days.
- Built for Data & AI: Streamlit was designed specifically for data scientists and AI practitioners, with features that just make sense for our use cases.
- Surprisingly Powerful: Despite its simplicity, I found Streamlit capable of creating professional-looking interfaces with minimal effort.
For this project, Streamlit offered the perfect balance of speed and capability. I could focus on making the agent work well, rather than battling with CSS or JavaScript frameworks.
Architecture: Putting It All Together
Our application follows a clean, three-tier architecture:
[Streamlit Frontend] <---> [FastAPI Service] <---> [Pydantic-AI Agent]
This separation of concerns proved invaluable as the project evolved. When I needed to tweak the agent's behavior, I could do so without touching the frontend. When I wanted to improve the UI, I didn't have to worry about breaking the agent logic.
The key components include:
- Streamlit UI (
client_app.py): The user-facing interface - API Client (
api_client.py): Handles communication with the backend - Utilities (
utls.py): Shared helper functions - Environment Config (
_env.py): Configuration and secrets management
The Real Challenges (And How I Solved Them)
Building this frontend taught me lessons you won't find in most Streamlit tutorials. Here are the challenges I faced and how I overcame them:
Managing Conversation State
One of the first hurdles was maintaining conversation history in a stateless web environment. Streamlit's session state system helped, but it wasn't enough on its own.
I needed to track:
- Current and historical messages
- The active thread ID
- Available conversation threads
- UI state during operations
The breakthrough came when I realized I could use URL query parameters to maintain state across page reloads. This approach not only solved the immediate problem but also enabled users to bookmark conversations or share links to specific threads—a feature I hadn't initially planned but proved incredibly useful.
Thread Management: More Than Just Messages
As I tested early versions, I quickly realized that a single conversation thread wasn't enough. Users needed to start fresh conversations or revisit old ones.
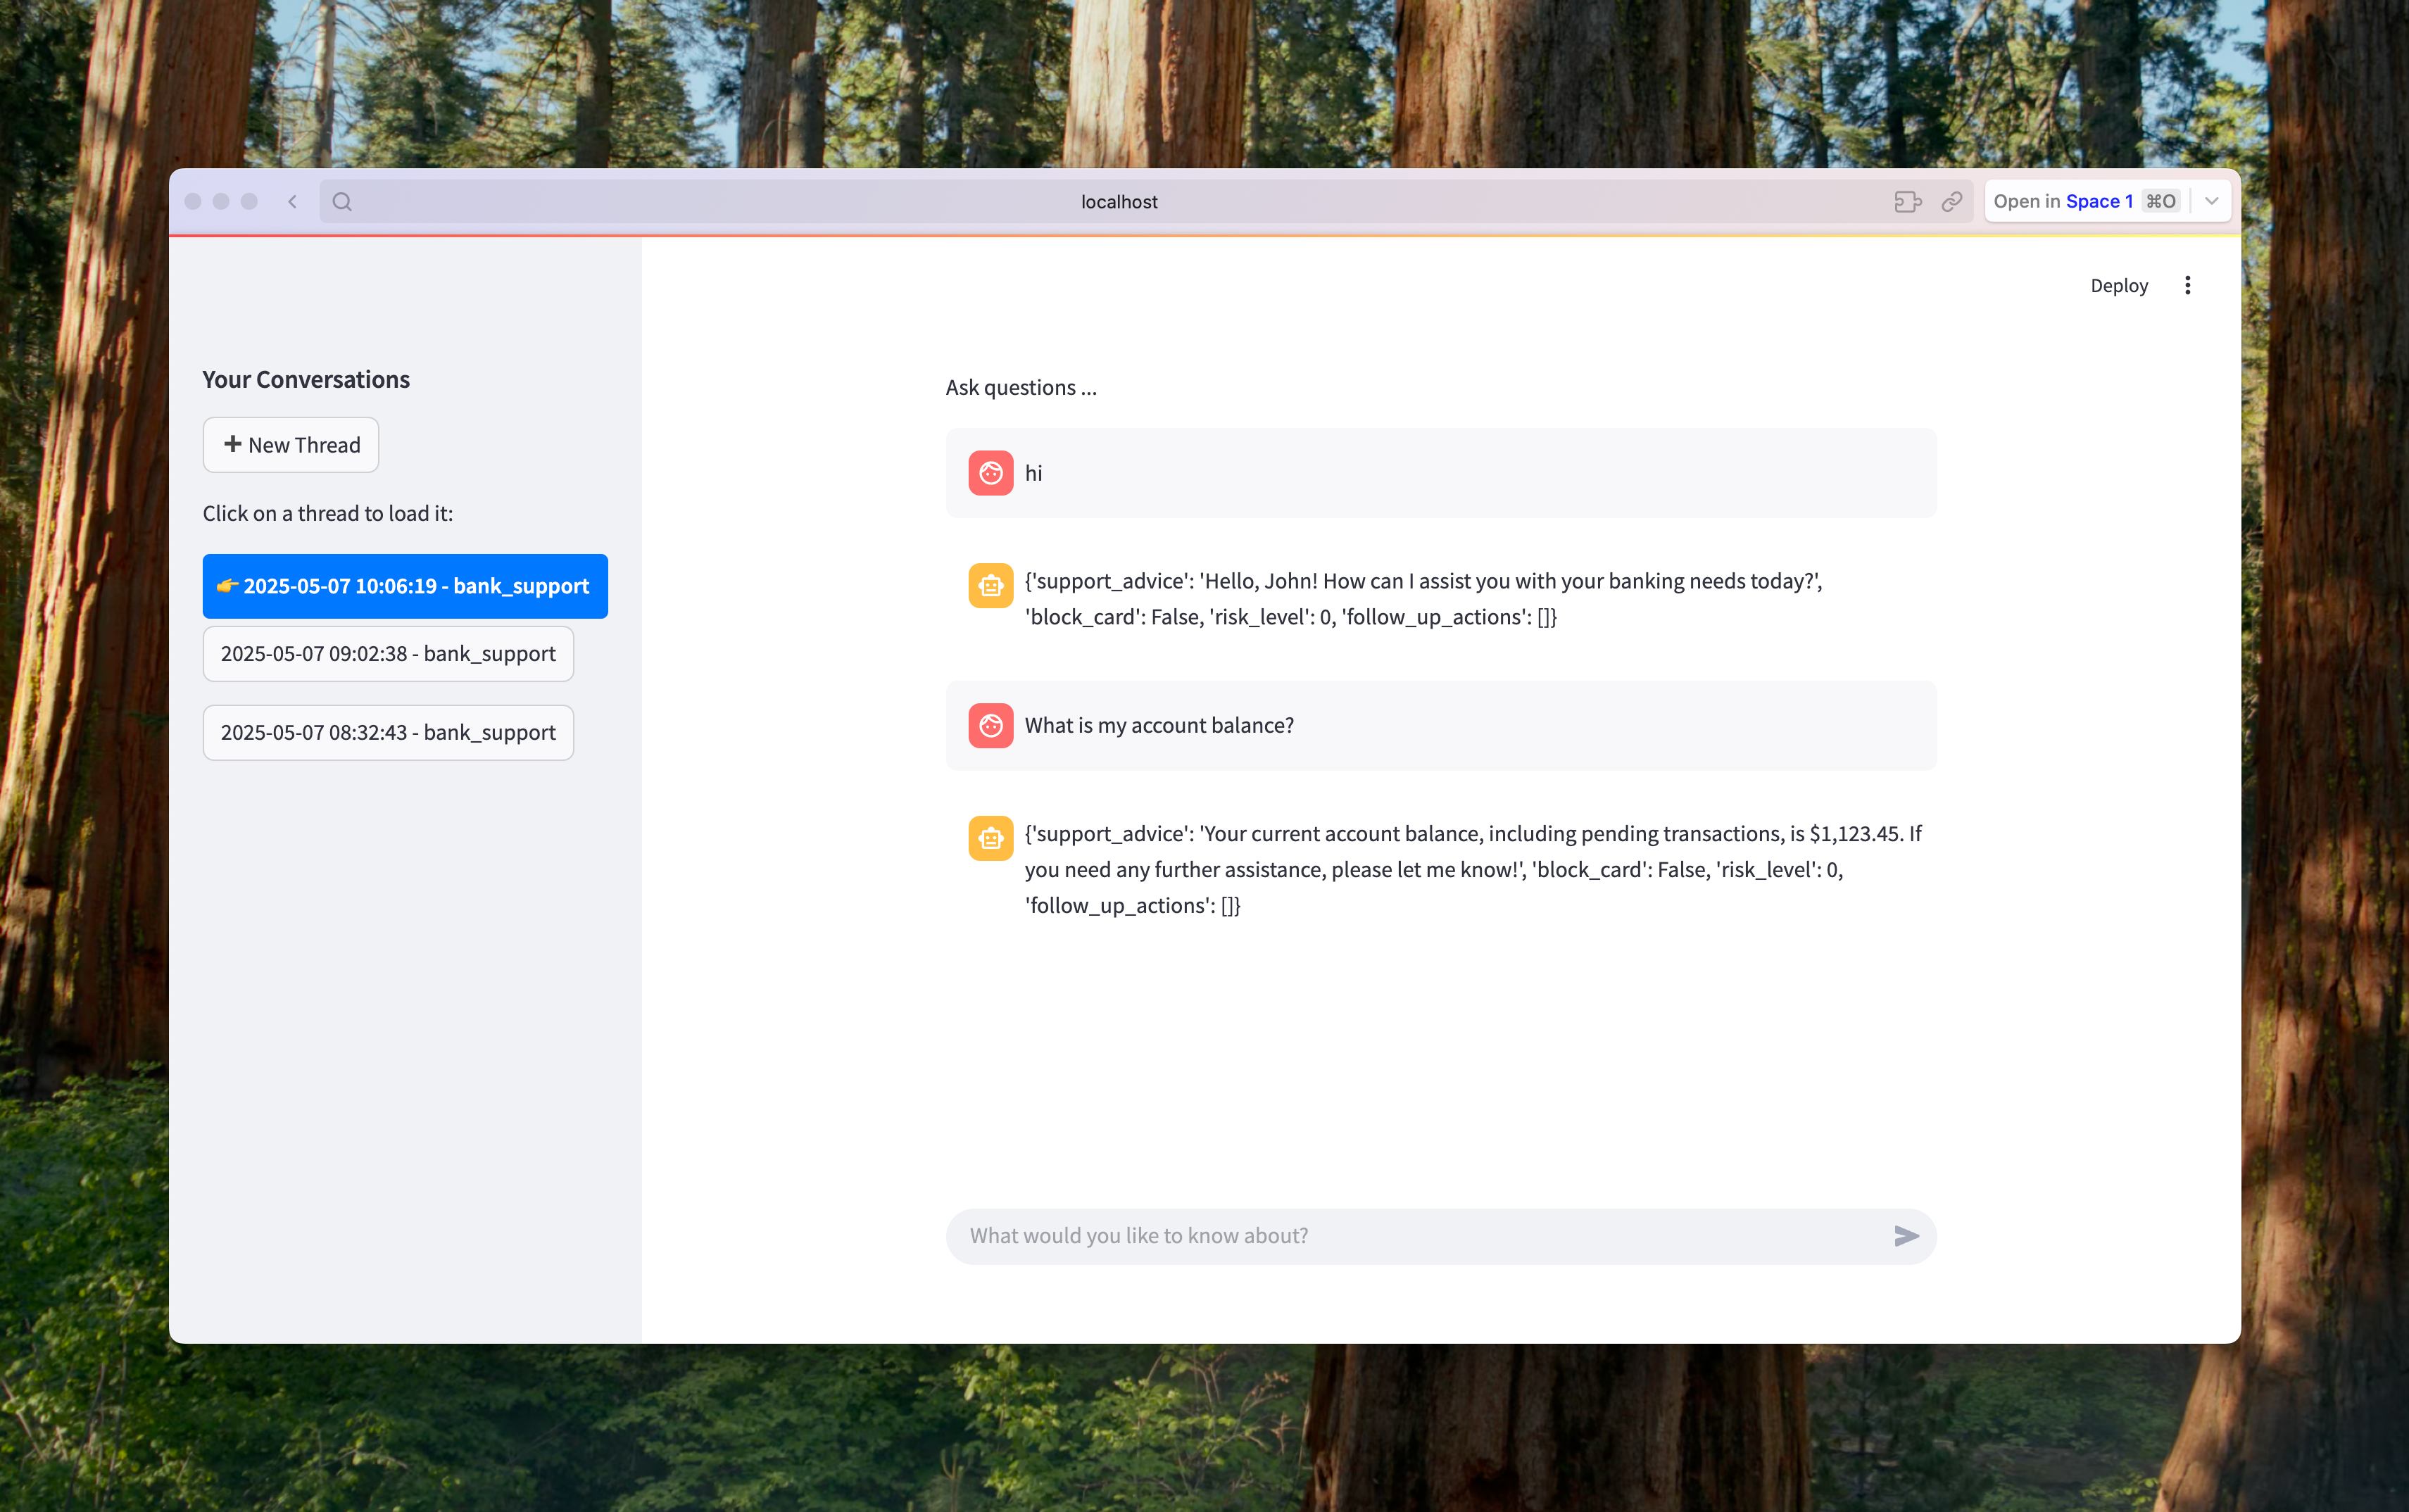
I implemented a sidebar navigation system that allows users to:
- Create new conversation threads
- Switch between existing threads
- Browse their conversation history
This pattern, familiar from apps like Slack or Discord, made the interface immediately intuitive. The sidebar provides context and navigation throughout the session, significantly improving the user experience.
Streaming Responses: Making AI Feel Alive
The initial version sent a query and waited for a complete response—functional, but not engaging. The moment I implemented real-time streaming, the entire experience transformed.
Instead of waiting for complete answers, users now see:
- Each token appear as it's generated
- The response build progressively
- Immediate feedback to their queries
This creates a much more engaging experience by providing immediate feedback and making the AI feel responsive and "alive." It's one of those features that seems minor on paper but completely changes how users perceive the application.
The Async Challenge: Bridging Two Worlds
Perhaps the trickiest technical challenge was reconciling Streamlit's synchronous execution model with the asynchronous nature of modern API clients.
After some experimentation, I created a utility function that bridges these worlds, allowing async API calls from Streamlit's synchronous context. This pattern proved so useful that I've since applied it to other Streamlit projects.
Lessons From Building This Demo
Here are some key takeaways from my experience:
UX Matters More Than You Think: Even with a brilliant AI model, poor UX will kill engagement. Invest time in making interactions smooth and intuitive.
State Management Is Crucial: In conversation-based apps, maintaining context between interactions is essential. Plan your state management strategy early.
Real-Time Feedback Is Worth The Effort: The complexity of implementing streaming responses pays off in vastly improved user engagement.
Separation of Concerns Saves Time: Keeping the frontend, API, and agent logic separate made iterating on each component much easier.
Streamlit Has Hidden Depths: What looks like a simple data visualization tool can actually build sophisticated interactive applications with the right approach.
Running the Application
Want to try it yourself? Here's how to get started:
- Start the FastAPI service:
uv run uvicorn src.service.main:app --reload --log-level debug
- In a separate terminal, launch the Streamlit app:
uv run streamlit run streamlit_app.py
The Streamlit app will automatically open in your default web browser at http://localhost:8501.
The Complete Picture: What We've Built
Over this series, we've assembled a full-stack AI agent system with three specialized layers:
- Structured AI Agent (Pydantic-AI): Provides type-safe outputs and dependency injection for reliable agent behavior
- API Layer (FastAPI): Manages conversation state, handles authentication, and provides both blocking and streaming endpoints
- User Interface (Streamlit): Delivers an intuitive, interactive experience for end-users
This architecture offers significant benefits:
- Each component can be developed, tested, and scaled independently
- The system can evolve incrementally as requirements change
- Different team members can work on different layers simultaneously
- Each piece uses the most appropriate tools for its specific job
Closing Thoughts
What began as a personal experiment to better understand Pydantic-AI has evolved into a complete, functional application that demonstrates how these technologies can work together in practice.
Is it production-ready? No—there are shortcuts and assumptions that would need addressing for a real-world deployment. But as a learning tool and demonstration, it shows what's possible when you combine these powerful technologies.
I hope this series and the accompanying codebase help you on your own journey building AI-powered applications. The field is moving incredibly fast, and having practical examples beyond "hello world" tutorials can make a real difference when you're trying to build something substantial.
If you found this useful, have questions, or want to share your own experiences, I'd love to hear from you! Feel free to reach out on GitHub or connect with me on LinkedIn. And of course, pull requests are always welcome if you have ideas to improve this project.
The most exciting thing about this space is how quickly it's evolving. What seems cutting-edge today will be standard practice tomorrow. By sharing what we learn along the way, we all move forward faster.